To make your planning for your custom garments easier, we here at Tyneside T-shirts have come up with this handy explanation of print and embroidery placements and sizing.
It should help with costing and planning in regards to what techniques can be used in each position. This isn’t a full list but is representative of the standard positions that we have seen over the years. If you have any further requirements that are not mentioned here then don’t hesitate to get in touch and we will be happy to advise. To bear in mind the following will have maximum sizes indicated, this however will need consideration if you are having screens made. If you are planning on having a full range from kids 5-6 right through to XXXL adults then there is going to be some variation in the sizes which will mean individual screens to pay for. However this works the other way too, you’ll see a reduction on the cost of print for a kids 5-6 than a full front XXXL Direct to Garment or vinyl print.
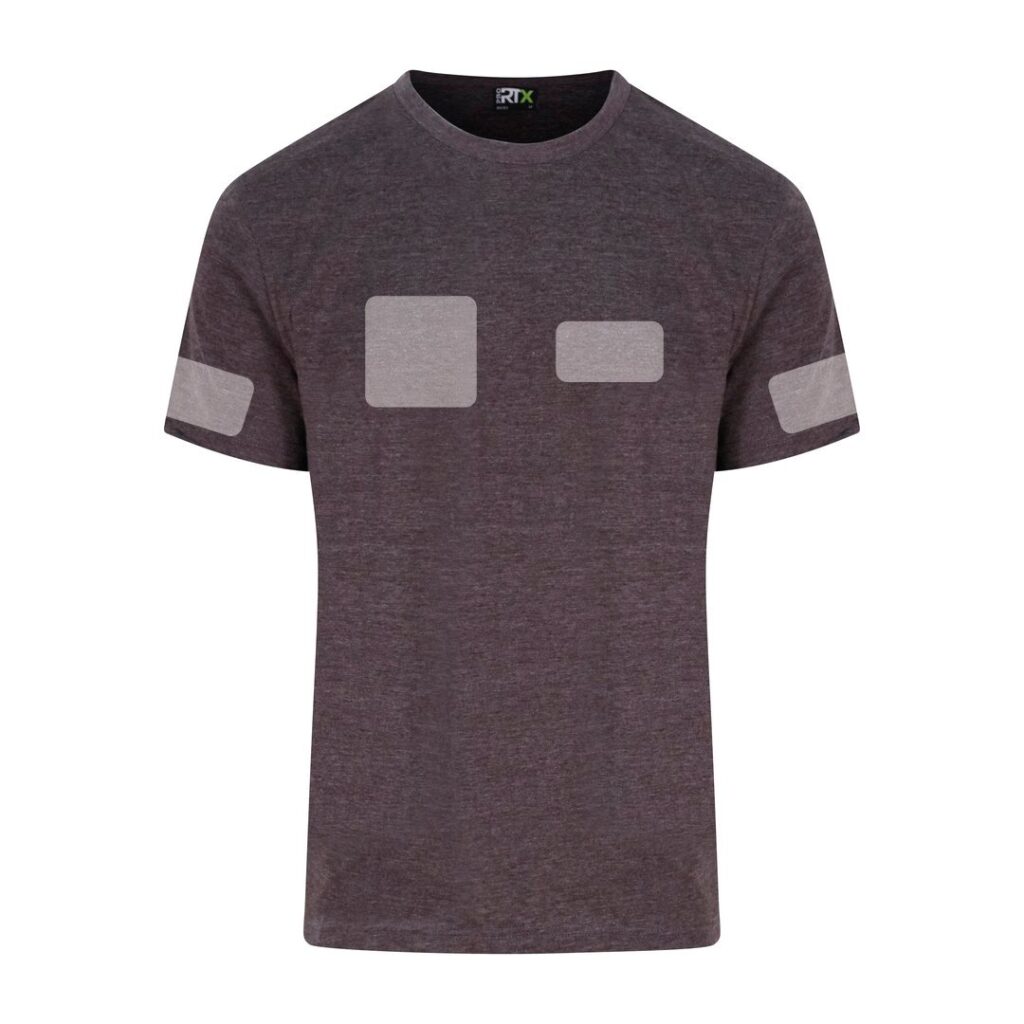
Breast Pocket & Sleeve
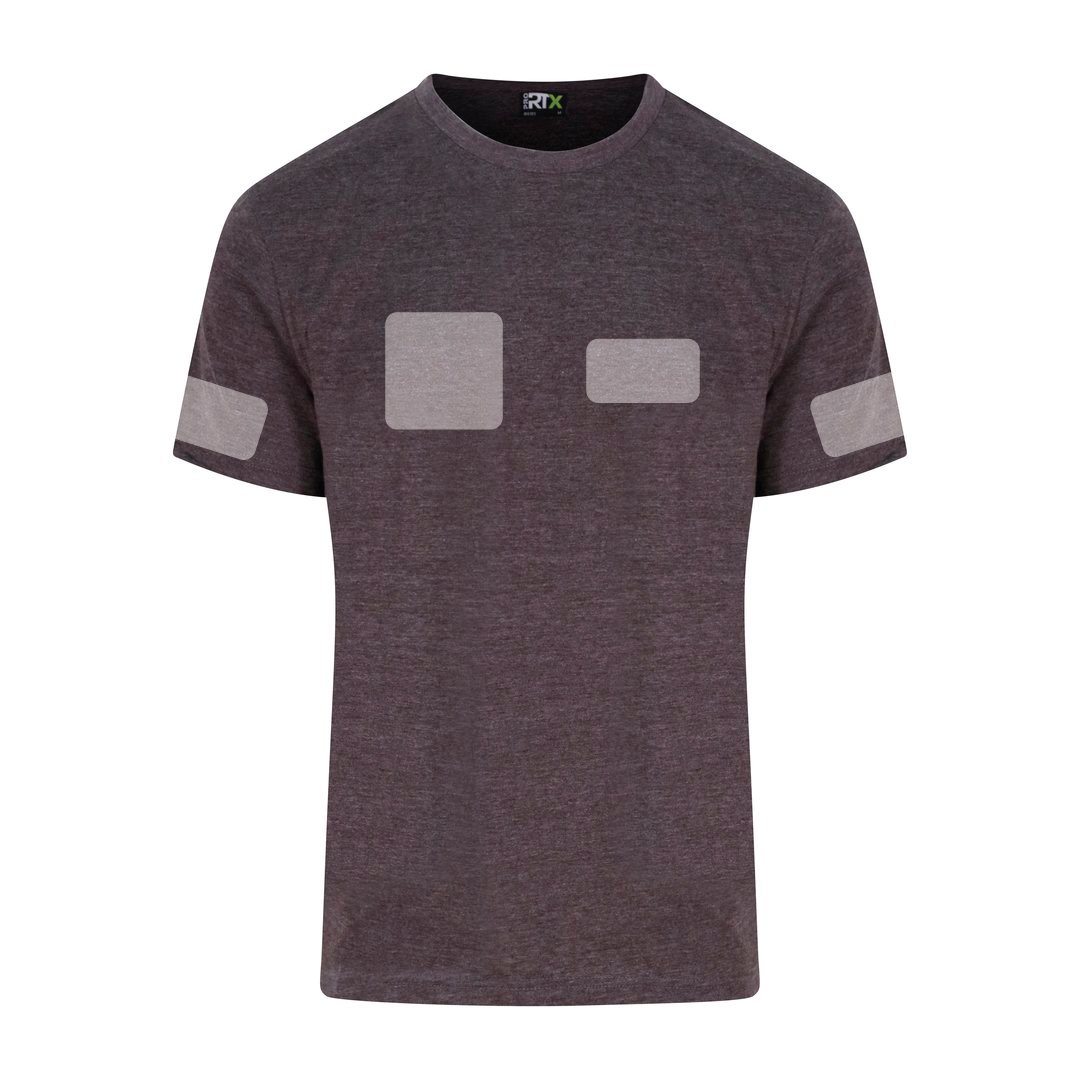
The breast pocket is probably the most common position we do here. Usually the left side (as you wear it) this position is popular with workwear, sports teams, and branded garments. Artwork here has to look good small here and trying to cram too much information here is not recommended (do you really need two phone numbers on?).
You may have seen on our pricing guides that these are labelled together, this is down to the fact that the size we have both is 85x55mm. Of course with most things there are exceptions to this rule and quite often we see sizing of 90x90mm on the breast.
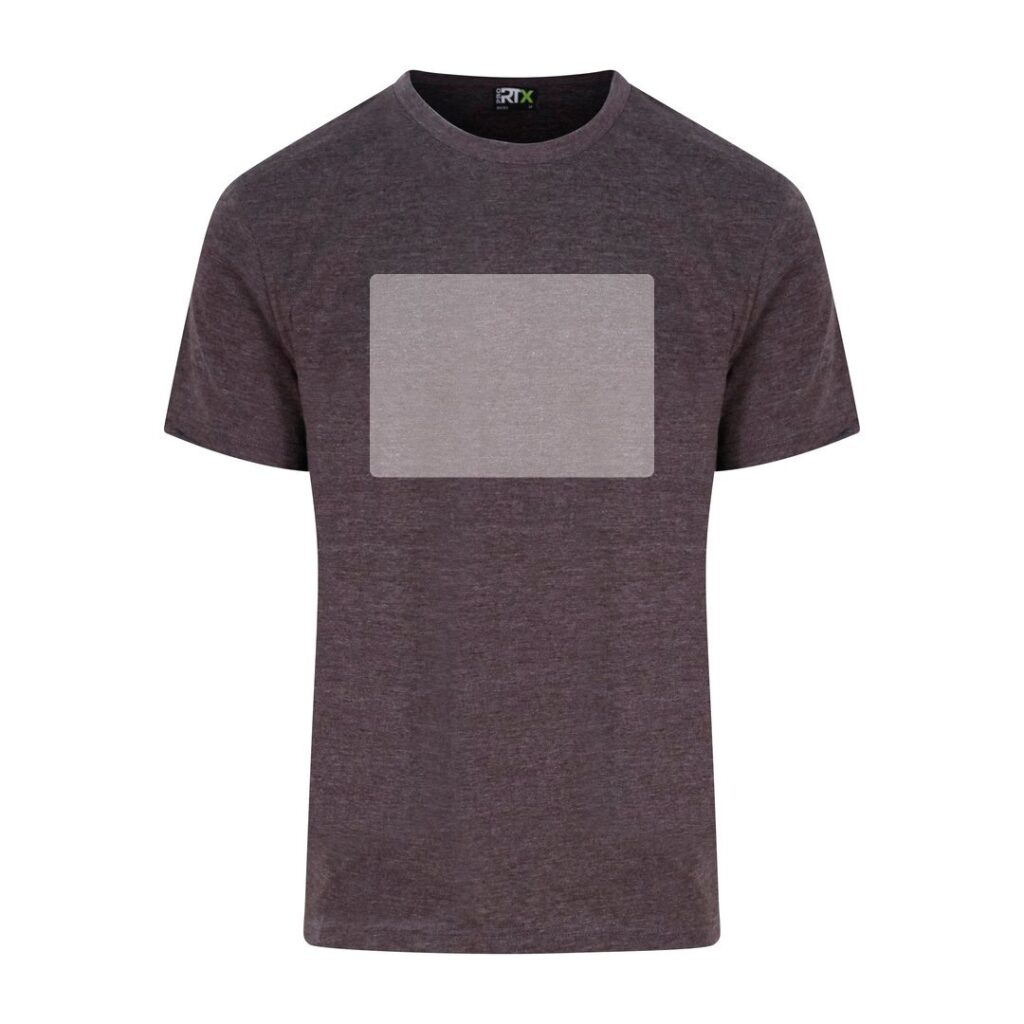
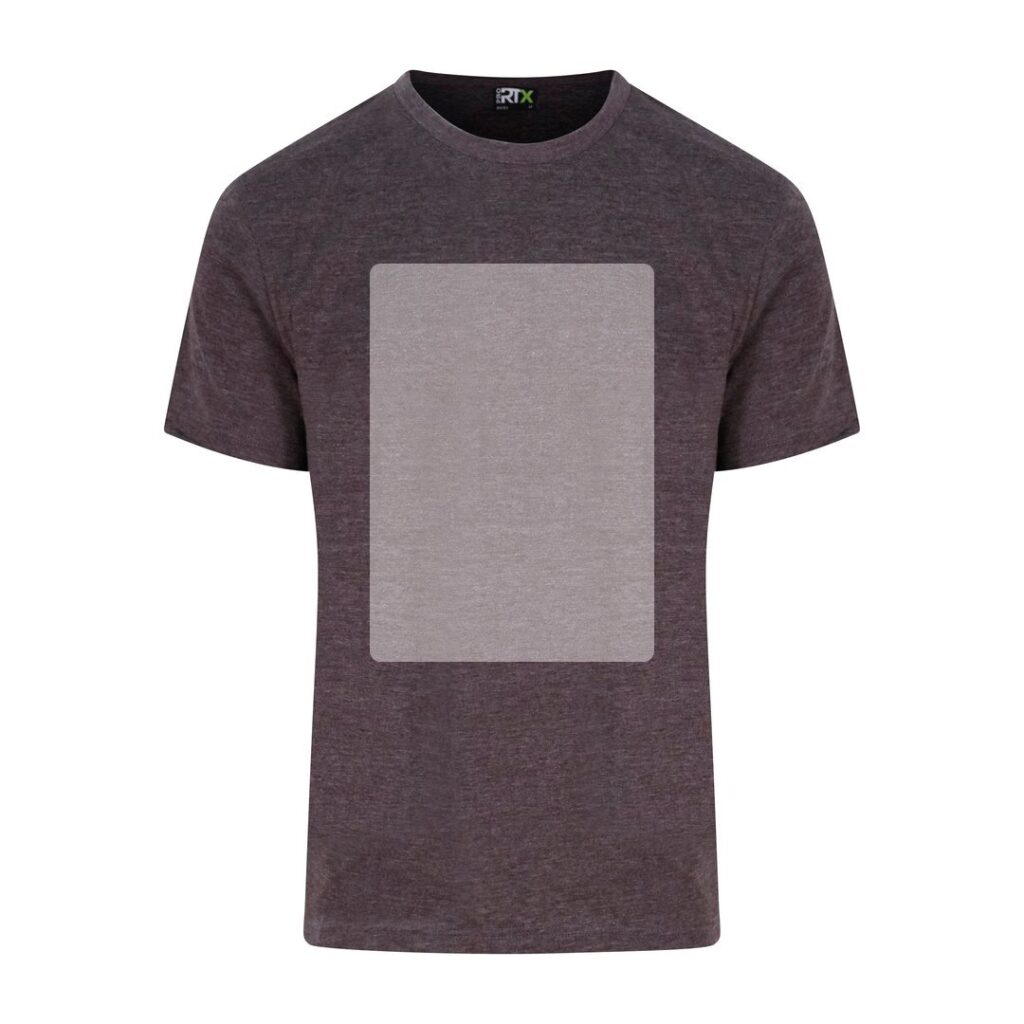
Standard Front
Front and center for when you have something that just needs to be bigger than a beer mat. Can be positioned near the top (as seen) or lower to the mid section (think sponsors on sports tops).
Sizing here is to a maximum of A4 (210x297mm)
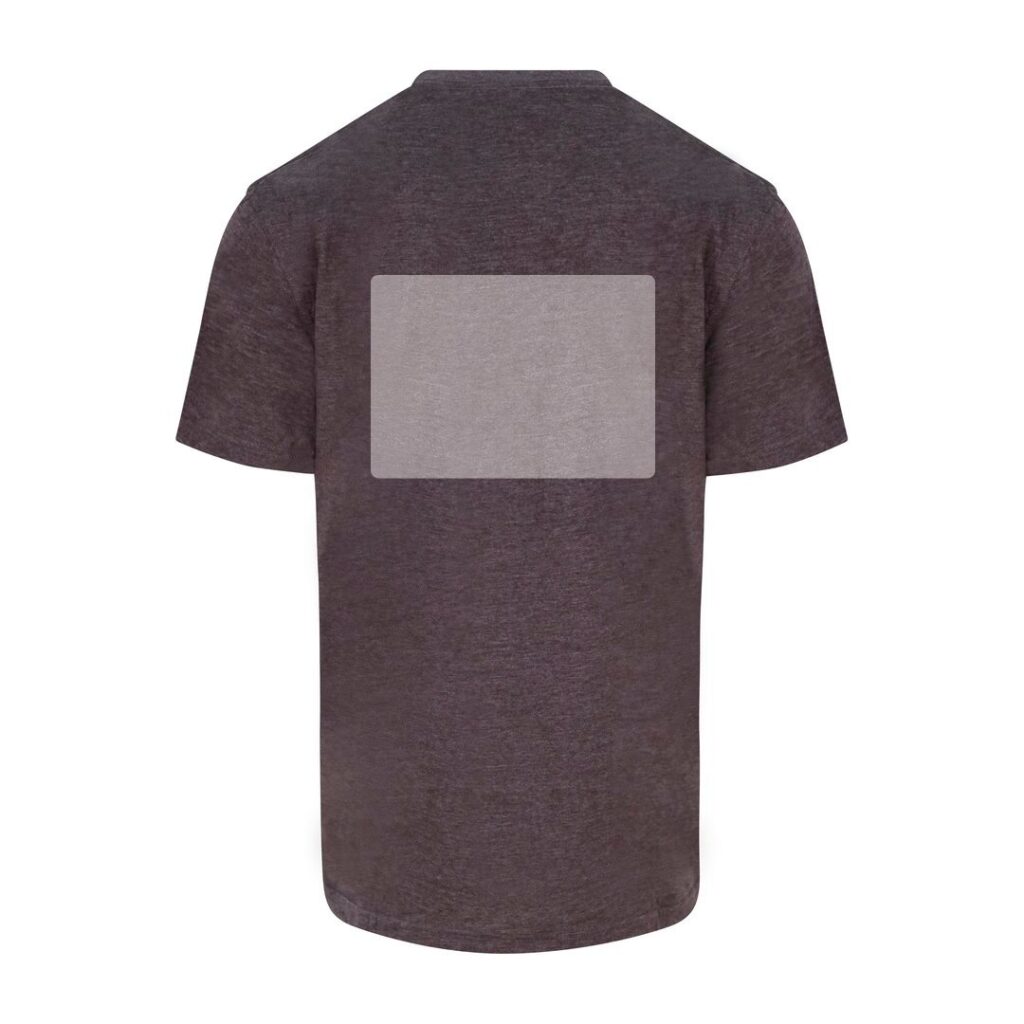
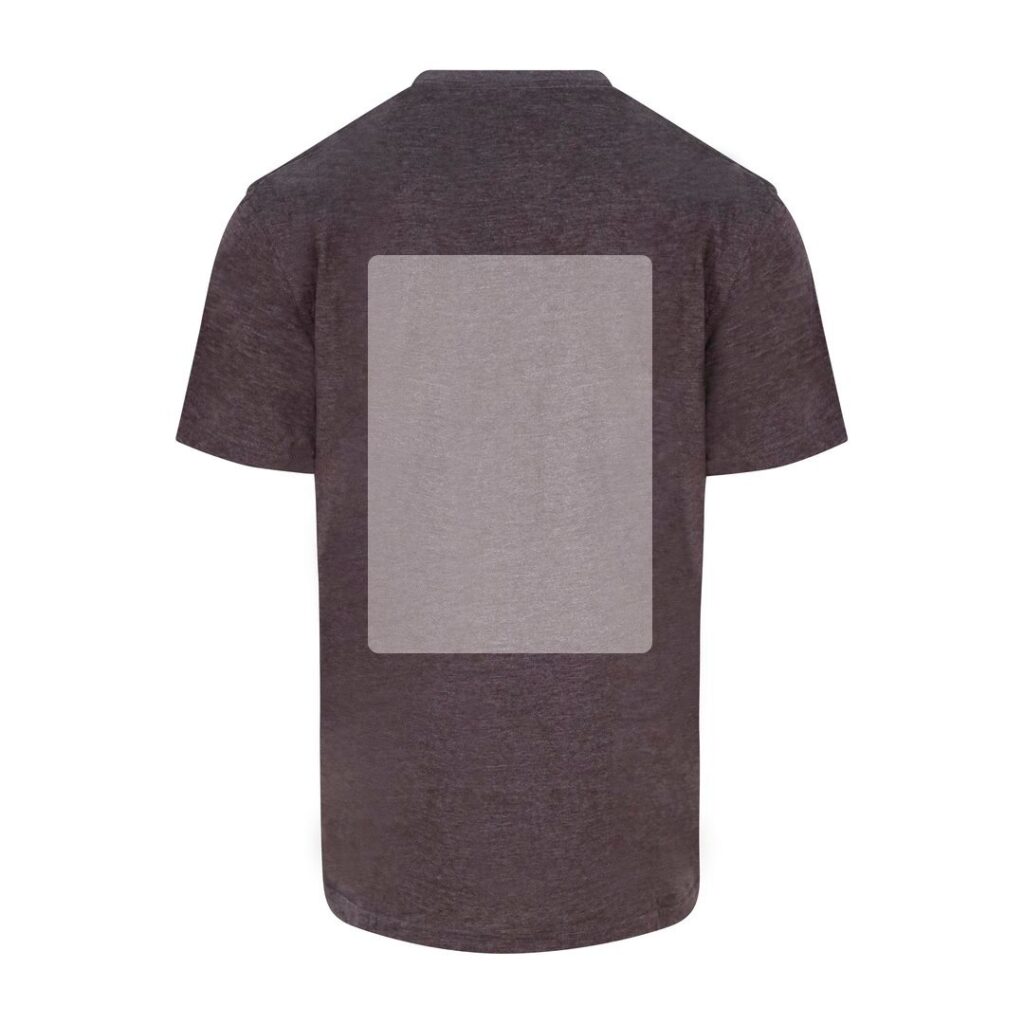
Standard Back
Front (or back rather) and center for when you have something that just needs to be bigger than a name. Usually positioned to the mid section, good for branding, logo and strapline/telephone number, especially when there’s a small print on the left breast pocket to compliment it..
Sizing here is to a maximum of A4 (210x297mm)
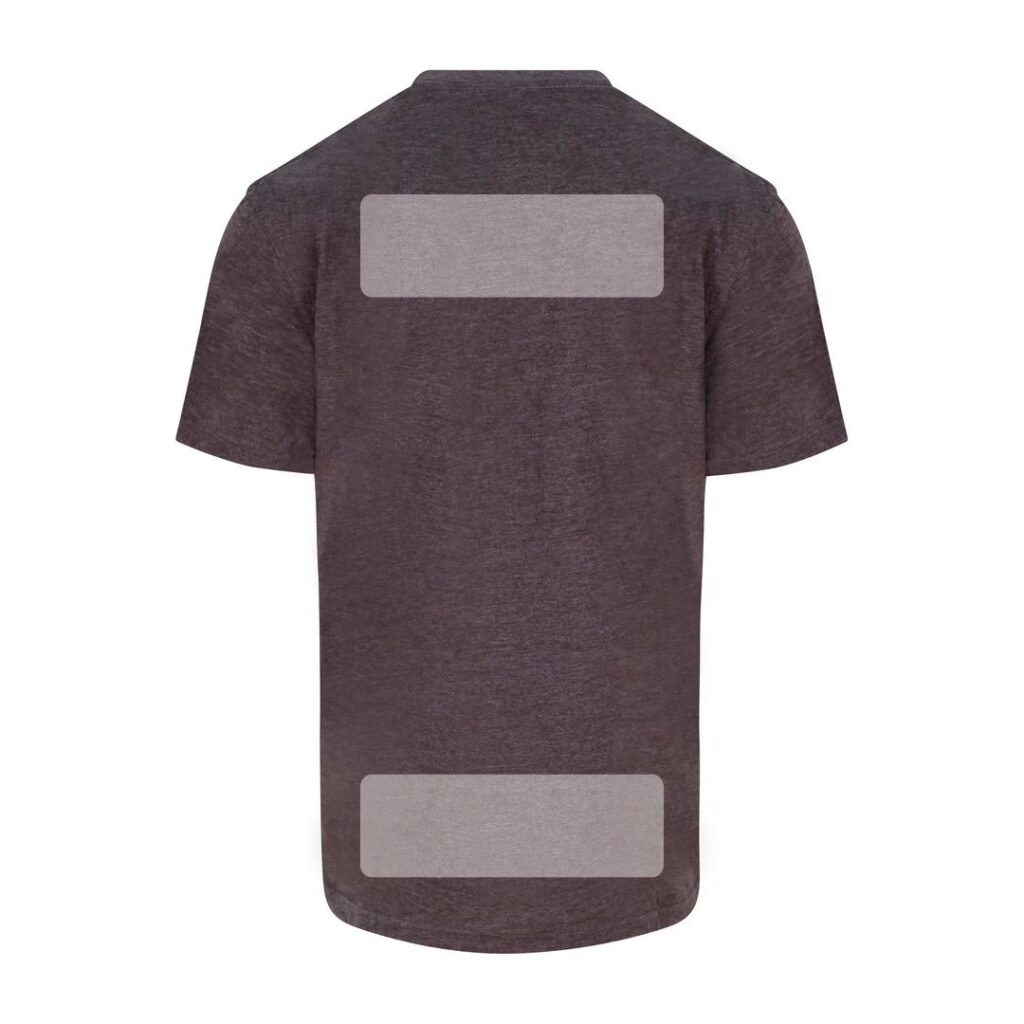
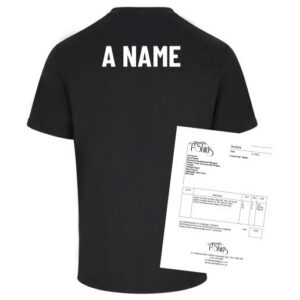
Reverse Name
Usually at the top but can be across the bottom, usually to indicate stag/hen name, event crew or even a website. A simple way to convey a message with reasonable costs.
Sizing here is to a maximum of 99x297mm
Large Front
For when you have a design that needs to go big or go home. More suited to Direct to Garment of sublimation on light garments due to the ink. Full colour vinyl, single colour vinyl and even screen printed plastisol inks will feel rigid when filling this whole area.
Sizing here is to a maximum of A3 (297x420mm)
Large Back
As with the front you either have a design that needs to go big or go home or as we’ve seen a lot over the last few years, have a few sponsors to get on. Possibly band merch with a small image and tour dates, these tend to be more text based therefore more leeway with the methods used.
Sizing here is to a maximum of A3 (297x420mm)
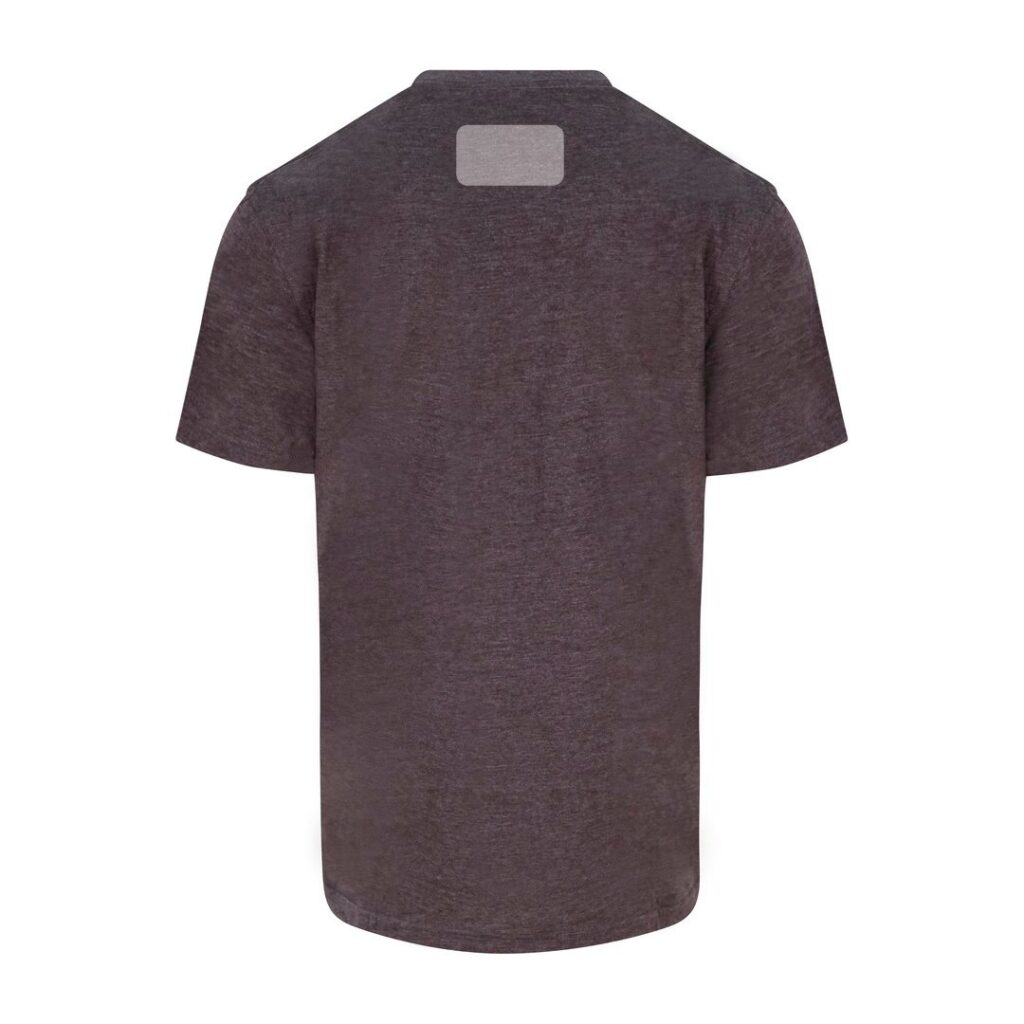
Rear Collar
A new popular position where you can add a small logo to carry the brand through to the back in a subtle tone. Again detail can be a problem when going small so bear that in mind when planning for graphics and text here.
Sizing here is to a maximum of 85x55mm
